¶ Scenarios
With scenarios you can automate processes that traditionally require manual work. This makes your solution more efficient, cheaper, and more reliable. Each connected device generates events in the platform. Most events can be used as a trigger to automatically start one or multiple actions. This is done with a scenario. Scenarios can be configured to be active on specific days and times only. Scenarios give you the freedom to tailor the platform and its functionality to basically any personal safety related use case.
When using the filter, it will also look for devices, teams, and geofences that are used as triggers or recipients in the scenarios.
¶ Scenario triggers
A scenario is triggered by different types of events.
Triggers and examples are explained here.
¶ Scenario actions
Scenarios can trigger one or multiple actions.
Actions and examples are explained here.
You can customize the name of all actions by clicking on the default title.
¶ Create a new scenario
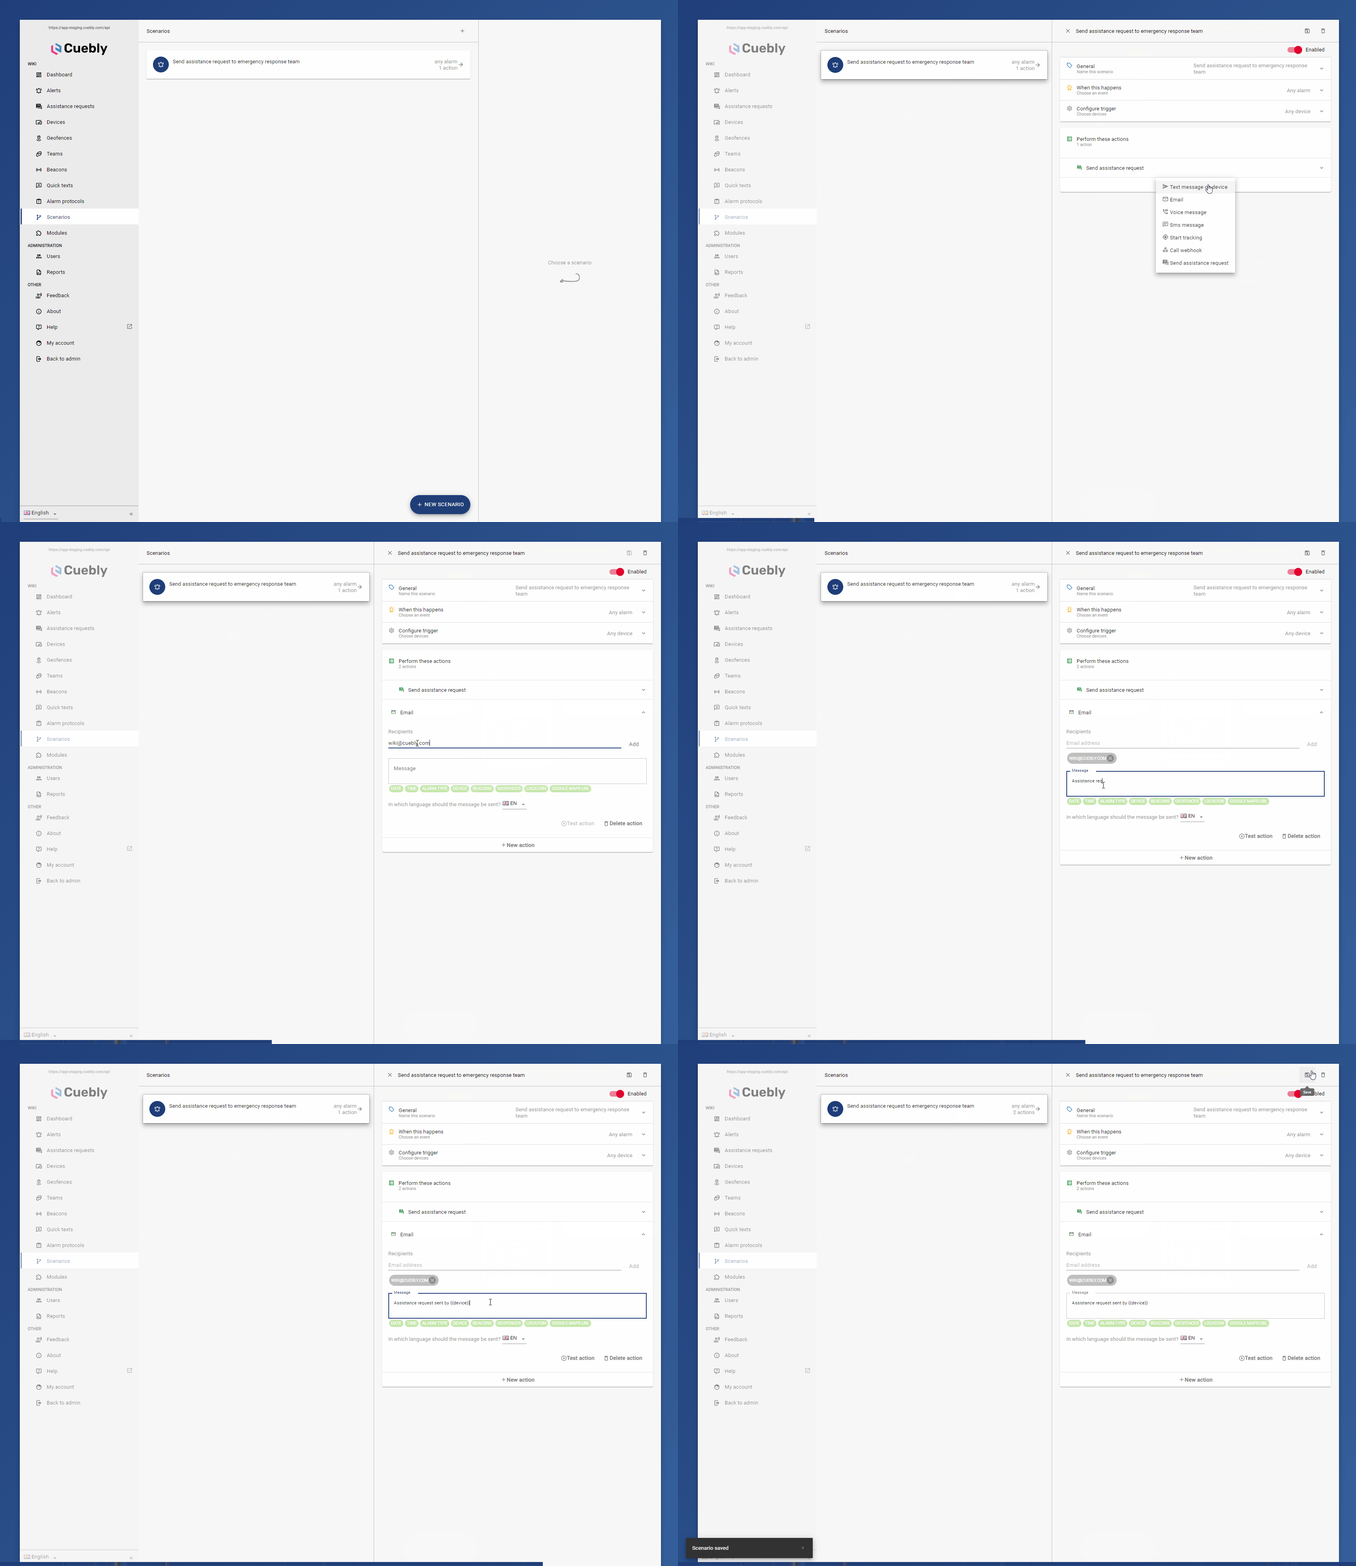
Navigate to scenarios and press the button + new scenario.
Name the scenario and optionally Manage schedule to define during which time this scenario should be active.
Select which event type should be the trigger of this scenario.
Configure the trigger. The configuration is different, depending on the trigger you have selected.
Add one or multiple actions to start when this scenario is triggered.
Save the scenario.
You have created you
¶ Edit a scenario
Click on the scenario you want to edit. Make any change to the configuration and save.

¶ Disable a scenario
Edit the enabled scenario, toggle the status to disabled and save.
¶ Enable a scenario
Edit the disabled scenario, toggle the status to enabled and save.
¶ Delete a scenario
Edit the scenario, press delete and confirm.
¶ Copy a scenario
Edit the scenario, press copy, make the desired changes to the copied scenario and save.
¶ Test a scenario action
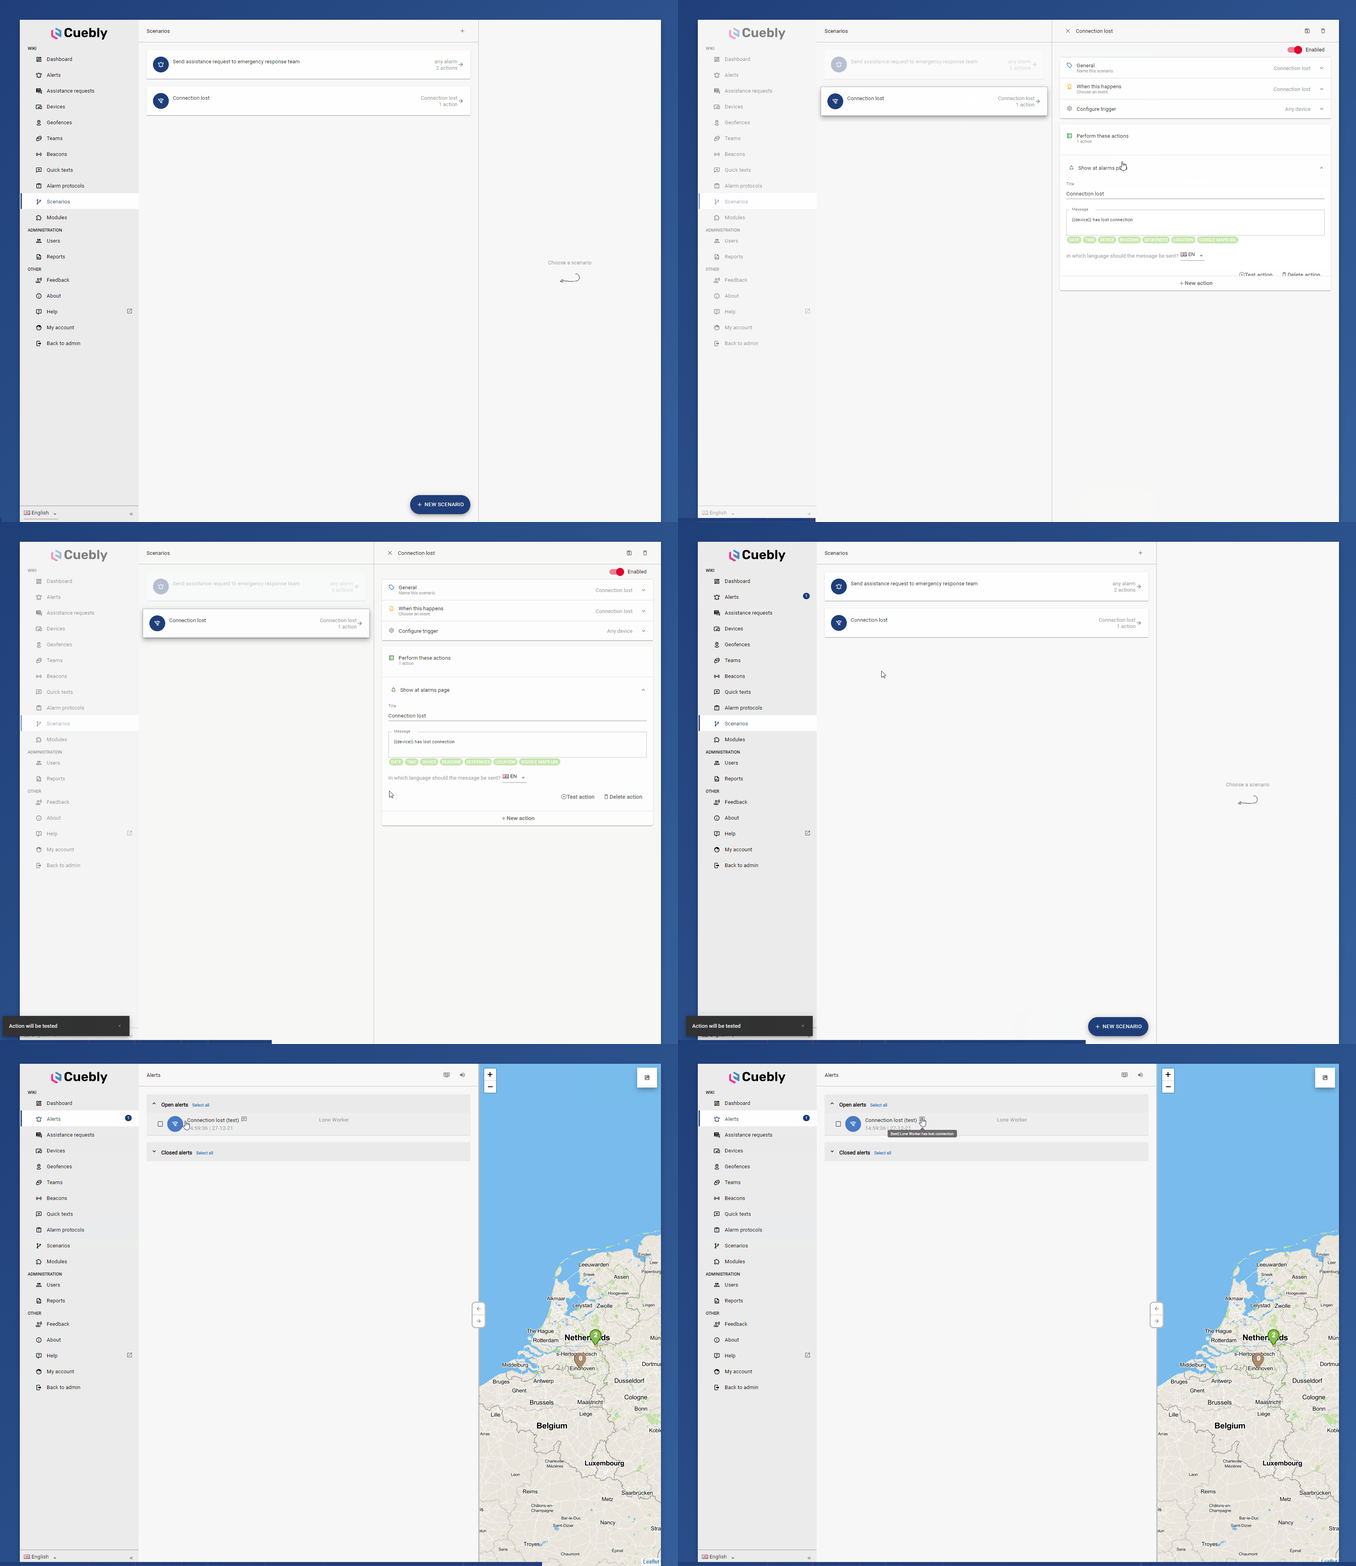
It is possible to test a scenario action without triggering the scenario event. By doing so, ‘test’ will be added to the action. Open the scenario in edit mode, expand the action you want to test, choose test action and confirm.

¶ Webhooks
Webhooks can be used in a scenario as both trigger and action. For this the HTTP REST protocol is used.
¶ Making a webhook request
Call a webhook to trigger a scenario. This can be done per example below.
//Generated by the platform and visible in the scenario
//For example https://example.com/api/pub/webhook/CBYAEVGPFWBDXNK8HJPV
$url = "[GENERATED WEBHOOK URL]";
//Provided by your account manager
$clientId = 'xGHm1dkpaf6fAeBv';
//Provided by your account manager
$secretId = 'OtJy6Swb76WqEU0N';

$code = explode('/', $url)[6];
$data = implode('.', [$code, $clientId, time()]);
$checksum = hash_hmac('sha256', $data, $secretId);
$token = implode('.', [$data, $checksum]);
$b64 = base64_encode($token);
$headers = ["Authorization: HMAC $b64"];

//Perform the request
$curl = curl_init();
curl_setopt_array($curl, [
    CURLOPT_URL => $url,
    CURLOPT_RETURNTRANSFER => true,
    CURLOPT_CUSTOMREQUEST => 'GET',
    CURLOPT_HTTPHEADER => $headers
]);
$response = curl_exec($curl);To generate a unique webhook URL, make a new scenario with the event webhook. The URL will be shown in the scenario configuration. Get in touch with your account manager to receive a Client ID and Secret ID.
¶ Receive event data using a webhook
When a webhook is configured as a scenario action the Cuebly platform will make a GET or POST HTTP request to your URL with all available event data.
¶ Webhook security
The Cuebly platform will send an extra header with the HTTP request to your URL so the request can be validated. This can be done per example below.
function authenticateWebhook()
{
    //Provided by your account manager
    $clientId = '[CLIENT ID]';
    //Provided by your account manager
    $secretId = '[SECRET ID]';

    if (!isset($_SERVER['HTTP_AUTHORIZATION']) || empty($_SERVER['HTTP_AUTHORIZATION'])) return false;
    $token = $_SERVER['HTTP_AUTHORIZATION'];
    if (strpos($token, 'HMAC ') !== 0) return false;
    $token = str_replace('HMAC ', '', $token);
    $data = base64_decode($token);
    $data = explode('.', $data);
    $checkClientId = $data[0];
    $checkChecksum = $data[2];

    if ($clientId != $checkClientId) return false;

    //The token is valid for 10 seconds
    for ($i = 0; $i < 10; $i++) {
        $checksum = hash_hmac('sha256', implode('.', [$clientId, strtotime("-$i seconds")]), $secretId);
        if ($checkChecksum == $checksum) return true;
    }
    return false;
}¶ Assistance requests
Using scenarios, you can send assistance requests. This section will show you how.
¶ Scenario action
In your scenario, add a new Send assistance request action.
Name your assistance request and configure the recipients. When you select a Team or Geofence, only compatible devices will receive the assistance request.
¶ Follow-up
The assistance request will be sent out to the recipients, and they get to accept or reject the request on their device. When you wish to create a follow-up scenario for when there are to little people that have accepted the request, you can create another scenario with the Too little turnout for assistance request trigger.
There are only a limited amount scenario actions available for this trigger.
When you have created your follow-up scenario, go back to your assistance request action in your original scenario.
Then configure the follow-up scenario there. You must configure which scenario to trigger, how much time you allow your recipients to reply, and how many acceptances you expect to receive.